Jump to Key Sections
SUMMARY
Why Install Windows 11 on An External Hard Drive?
Recently, my in-laws’ laptop, an ACER Aspire 7739G, broke down…
It’s impossible to start Windows 11 normally (and the Safe Mode of Windows 11 inevitably inaccessible), only an error message was displayed after a while when the PC was turned on:
Recovery
There was a problem with a device connected to your PC.
An unexpected i/o error has occured
File:BootBCD
Error code: 0xc00000e9
BIOS inaccessible and boot options misconfigured, all this prevented to reset Windows 11 or repair Windows. No way to boot from the CD drive or a bootable USB key…
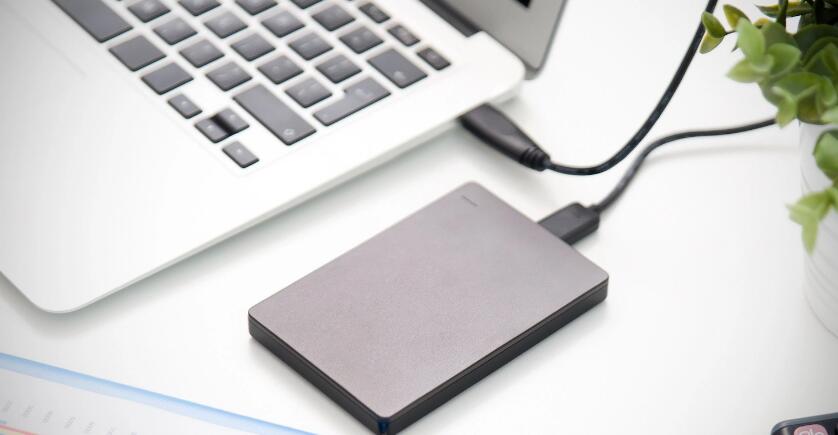
The only solution I found to get out of this thorny problem: disassemble the laptop’s hard drive and put it in a small USB box so I could plug the hard drive in my PC. As an emergency solution, I installed Windows 10 on the external hard drive connected to the USB port.
Fixing the errors on the hard drive and reinstalling Windows 11
But before embarking on the installation of Windows, I proceeded to fix the errors on my in-laws’ hard drive. It was unreadable (no display of the files on the hard disk…) and they wanted to recover some files, especially all their photos that they had not bothered to backup.
The correction of the hard disk errors was a bit long (a good thirty hours I think for a 700GB hard disk). But it was successfully accomplished since I was able to recover all their photos and videos!
Once their files were recovered, I decided to format the Windows 11 hard drive (several partitions being corrupted and the MBR repair of the drive having failed) to be able to reinstall Windows 11.
Unfortunately, reinstalling Windows 11 on an external hard drive wasn’t that easy since I got the following message when I tried to select my in-laws’ hard drive from my Windows 11 bootable USB drive:
Windows cannot be installed on this drive. The installer does not support configuration or installation on disks connected to a USB or IEEE1394 port
However, there is a way to install Windows 11 on an external USB hard drive. But you’ll have to get your hands dirty… If you follow all the steps in this tutorial, you should be fine!
Tutorial: How to Install Windows 11 on an External Hard Drive
Prerequisite: you will need a burned CD containing the Windows 10 installation files.
If you try to install Windows 10 on your hard drive from another Windows than Windows 11 , you will have to download a specific driver as explained in this article from Microsoft. Otherwise you will not reach the end of the installation and will get an error 87.
You can download an .iso image of Windows 11 from the Microsoft website here.
Prepare the hard disk for the installation of Windows 11
- Right click on the Windows Start menu and select Command Prompt (admin) (or PowerShell if you don’t have Command Prompt in the Windows 11 Start menu).
- Type diskpart in the command prompt then validate by pressing the Enter key, this will open the Windows disk partition utility.
- Then type disk list in the command prompt then Enter to display the list of connected hard drives. Then select the hard disk where you want to install Windows by typing select disk 1 (or another number if the concerned disk is not disk 1 in the list).
Be careful, the following operations will format the disk and thus delete the data which were on the disk! So remember to back up your data beforehand or you may lose them. - Type the command clean (+ Enter) to clean the hard disk.
- Type the command create partition primary then Enter to create the partition where Windows will be installed.
- Type the command format fs=ntfs quick then Enter to format the partition
- Type active in the prompt to activate the partition
- Type assign letter=e to give the letter E to the hard disk.
- Type exit to exit the Diskpart utility
The hard disk is now prepared, you just have to copy the Windows installation files thanks to DISM (Deployment Image Servicing and Management), the tool for managing and maintaining deployment images from Microsoft.
Install Windows 11 files with the Dism utility
- In the Windows 11 command prompt, type dism /apply-image /imagefile=d:sourcesinstall.wim /index:1 /applydir:e:
Assuming that your CD drive containing the Windows 10 installation CD is drive D and that your hard disk is drive E. Otherwise you will have to modify the commands below by replacing D and E by the letters corresponding to your CD drive and hard disk. - All that remains is to make the hard disk bootable by entering in the command prompt: bcdboot e:windows /s e: /f ALL
I got an error message but it did not prevent the creation of the image on the hard disk.
Windows 11 is now ready on the hard drive!
All I had to do was plug the hard drive back into my in-laws’ laptop. The computer rebooted to Windows 11 where the installation process could be completed. At least with this mishap, my in-laws are aware of the importance of data backup, I actually pushed them to set up a Windows 11 backup for more peace of mind!

